
Wall mounting a TV safely is not a single task. The television, bracket, wall, fixing arrangement, screen position and cable route all have to work together. This guide explains that process in the order I follow during an installation, including the checks that are often missed in shorter DIY guides.
Tools and Information to Have Ready
Before starting, you need the television model and weight, its VESA pattern, a compatible bracket, the correct television mounting screws and a safe handling plan.
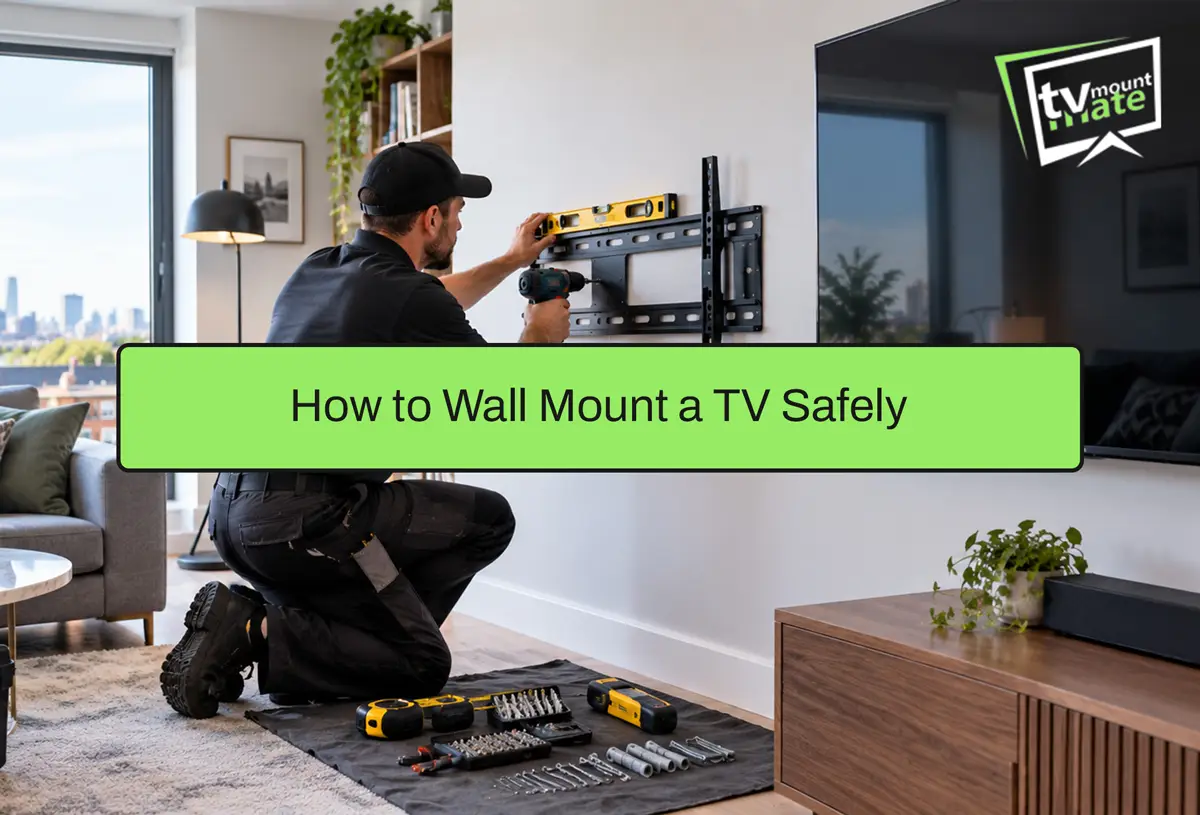
You will also need a suitable detector, level, tape measure, pencil, drill, the correct drill bit for the wall, appropriate fixings and the tools specified by the bracket manufacturer.
The detector, drill and drill bit are particularly important because they change with the wall. Owning a powerful drill does not help if the bit is unsuitable for brick, concrete or the material behind the visible surface.
Do not buy or select the fixings until the wall construction and condition have been established.
Before You Pick Up the Drill
I will not start drilling until I have confirmed the wall construction and checked the proposed fixing area for sockets, electrical cables and pipes.
The television and bracket compatibility, required screen position, fixing locations, cable route and lifting plan must also be established before the first hole is drilled.
The complete pre-drilling assessment is covered separately in this guide to what to check before mounting a TV.
Confirm That the TV and Bracket Are Compatible
Compatibility comes down to several details:
The VESA pattern
The television’s weight
The bracket’s stated weight rating
The correct mounting screws and their permitted depth
Where the mounting points sit on the television
The shape of the rear casing
Clearance for ports, plugs and connectors
Some televisions also have model-specific mounting requirements that should be checked in the manufacturer’s instructions.
“Universal” on a bracket’s packaging normally means it supports a range of televisions, VESA patterns and weights. It does not mean it is guaranteed to suit every television.
I would never assume compatibility purely because a bracket is described as universal.

Attach the Bracket Arms Before Calculating the Wall-Plate Position
This is the step that catches people out more than any other, and it is one of the most useful things I can pass on.
A common mistake is fixing the wall plate first and only attaching the bracket arms to the television afterwards.
Putting the wall plate at a particular height does not automatically put the screen at the height you intended. VESA mounting points sit in different positions on different televisions relative to the top and bottom edges of the screen.
The correct order is:
Confirm that the television and bracket are compatible.
Attach the bracket arms to the back of the television.
Measure the distance between the mounting hooks and the television’s edges.
Agree on the intended final screen position.
Use those measurements to calculate where the wall plate must sit.
Seating position, glare, sockets, nearby furniture and the cable route all affect the final position. Our full guide to how high a TV should be mounted covers the positioning decision in more detail.
Confirm the Wall and Scan the Drilling Area
The visible surface of a wall does not tell you everything about what is behind it.
I check the wall’s condition, use a suitable detector and investigate further if a reading does not match what I expected. I do not drill based on an assumption about the wall.
On one installation, my detector indicated a possible pipe behind the proposed fixing area. I stopped, investigated further and moved the bracket rather than drilling through the original position.
That is something a wall photograph alone cannot reveal, however clear the photograph appears.
Electrical Safety First advises DIYers to locate concealed cables before starting and explains that a quality cable detector can help track buried cables. It also advises switching off the power at the consumer unit when carrying out DIY close to electrical wiring or power supplies.
If a detector reading cannot be explained, stop and investigate rather than drilling through the proposed position.
Match the Drill, Bit and Fixing Approach to the Wall
Brick, concrete, hollow plasterboard, timber studs, metal studs and dot-and-dab plasterboard all require different drilling and fixing decisions.
Treating them as though they are the same is where many DIY attempts go wrong. Older or weaker masonry may crack or crumble if it is drilled too aggressively, so it needs a more controlled approach.
I never choose a fixing from the television size alone because the wall construction and condition, bracket type, available fixing positions and bracket leverage all affect what fixing arrangement is suitable.
Fixings supplied with a bracket are not automatically suitable for every wall. Our guide to fixings for a brick or concrete wall explains this in more detail if that is the type of wall you are working with.
Mark, Level, Drill and Secure the Wall Plate
Once the wall-plate position has been calculated, mark the proposed fixing points and scan the drilling area before continuing.
Check that the plate is level and use a drill bit and fixing arrangement suited to the confirmed wall construction.
Follow the fixing manufacturer’s instructions for the required hole diameter, depth and installation method. Do not make the hole larger simply because a plug will not go in easily.
After securing the wall plate, confirm that it is level, firmly seated and shows no movement before lifting the television.

Lift and Engage the Television Safely
Follow the television and bracket manufacturers’ handling instructions. Protect the screen and use the correct gripping points while lifting.
Whether a second person is required depends on the television’s weight, dimensions, shape and the manufacturer’s instructions. Screen size alone should not be used as the deciding rule.
Guide the bracket arms or mounting points onto the wall plate carefully. Keep hold of the television until you can see and feel that it is properly engaged, rather than merely resting against the bracket.
I do not release the television until I can see that the bracket arms are hooked onto the wall plate and feel that the television is steady. Where the mounting system uses a lock or magnet, I also listen for or otherwise confirm that it has engaged.
Connect the Cables and Test the Bracket
Once the television is mounted, check that the cables are not trapped, stretched or bent too tightly.
Power and HDMI connectors need enough clearance behind the screen, and ports should remain accessible rather than being pressed against the wall.
Surface trunking keeps the cable route outside the wall and accessible. A concealed route depends on the wall construction, available route and the cables involved.
If the installation requires a new socket or changes to fixed wiring, arrange that part of the work with a suitably qualified electrician.
If the bracket tilts, swivels or extends, move it through its intended range and check that the movement does not pull against any cables.
Final Checks Before You Finish
Once the television is properly engaged and supported by the bracket, check that the screen is level and that any locking mechanism is secure.
Look for movement at the wall plate or bracket. Confirm that cables are not trapped or under pressure and make sure the ports remain accessible.
Test any intended tilt, swivel or extension again after the cables have been arranged.
Finally, confirm that the picture and sound are working and leave the surrounding area free from dust, packaging and installation waste.

When Should You Stop and Call an Installer?
Stop rather than pushing ahead when:
The wall construction cannot be confirmed
A detector reading cannot be explained
A possible pipe or electrical cable crosses the drilling area
The television and bracket compatibility is uncertain
The wall is damaged, weak or moving
The appropriate fixing arrangement is unclear
You do not have relevant DIY or drilling experience
You cannot lift and engage the television safely
You are handling an expensive television and have never mounted one before
The installation requires electrical work outside your competence
Our guide to common TV wall mounting mistakes explains what can happen when these warning signs are ignored.
My honest advice is to put the drill down if you do not have relevant DIY or drilling experience, cannot confidently identify the wall and proposed drilling area, or are not confident handling an expensive television safely.
That is the point where professional advice or installation is worth considering, even if you only need advice before deciding what to do next. Our guide on whether to mount a TV yourself or hire a professional examines that decision in more detail.
Frequently Asked Questions
Sometimes. It depends on the wall, television, bracket, proposed position and your previous DIY experience. Screen size alone cannot determine whether an installation is suitable for DIY.
You cannot always identify it from the visible surface. A suitable detector and closer inspection can help, while tapping only provides a rough clue. If you cannot confidently confirm the construction and suitable fixing positions, do not start drilling.
No. Compatibility depends on the VESA pattern, television weight, bracket capacity, mounting screw requirements and the position of the mounting points.
Our guide on whether any wall mount fits any TV covers these compatibility checks properly.
It depends on seated eye height, the television’s dimensions, the room and personal preference. There is no single fixed height that works for every installation.
Where the bracket arms sit relative to the screen also affects the final wall-plate calculation.
Use a detector suitable for the materials you need to check and follow its operating instructions across the proposed drilling area.
If a reading is unclear or cannot be explained, stop and investigate further. A wall photograph cannot confirm what is hidden behind the visible surface.
That depends on the wall construction and condition, the bracket type, available fixing positions and the load being placed on the wall.
Brick, concrete, hollow plasterboard and stud walls require different approaches. There is no universal fixing suitable for every TV installation.
Follow the television manufacturer’s handling instructions.
If the manufacturer specifies a two-person lift, or you cannot safely lift, control and engage the television without touching or pressing the screen, do not attempt it alone. Weight, dimensions and shape all matter, so screen size should not be used as the only rule.
You should be able to see the bracket arms or mounting points fully engaged and feel that the television is steady with no rocking.
If the mount uses a lock or magnet, confirm that it has engaged before releasing the television.
Get a Fixed Quote
If you would rather have the installation completed professionally, send your postcode, TV size and model if known, a photograph of the wall, the wall type if known and details of any bracket you have already bought.
You will receive a fixed quote before booking. No deposit is required, payment is due on completion, and same-day visits are available where the schedule allows.
See our professional TV wall mounting service for more information.
About the Author
Written by: TV Mount Mate
This guide is based on more than 10 years of hands-on TV wall mounting and over 6,000 completed installations.